Note: I do not claim to be particularly proficient in the kitchen, and even less so at photographing what I make! In fact, the standards by which I rate recipes are: Is it quick and easy to make? Is it budget-friendly? Will my family like it? So enjoy the recipe below but remember that I’m not primarily a food blogger!
Our kids absolutely LOVE the ice cream cake I posted about a few weeks ago, but our youngest had a suggestion to try something new! The opinions on the outcome were mixed (they thought it was delicious, but few were willing to say they preferred it to the original!), but as an individual who really just eats ice cream so I can have the toppings with it, I actually liked this one better!
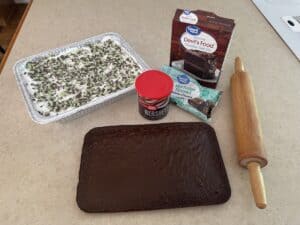
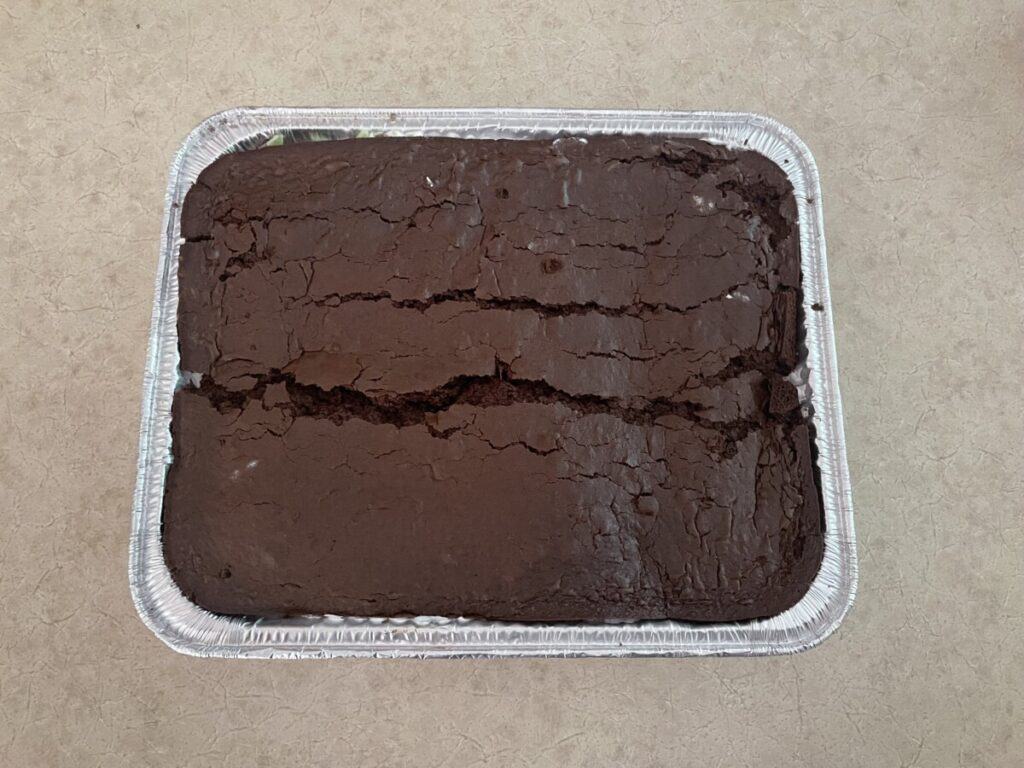
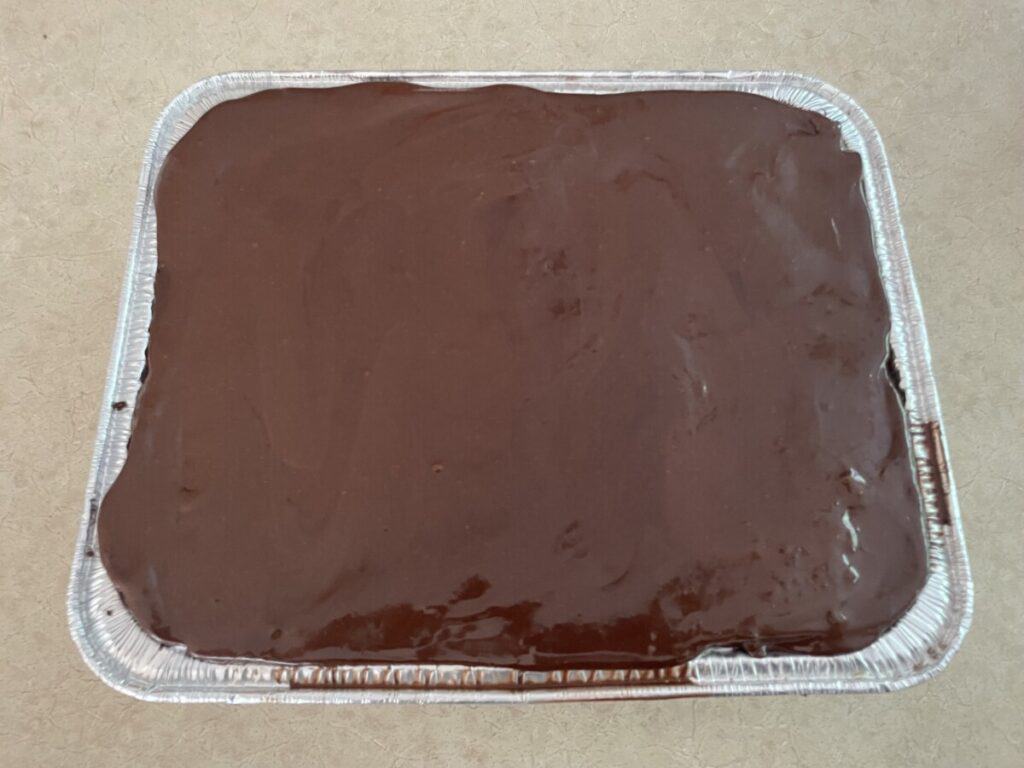
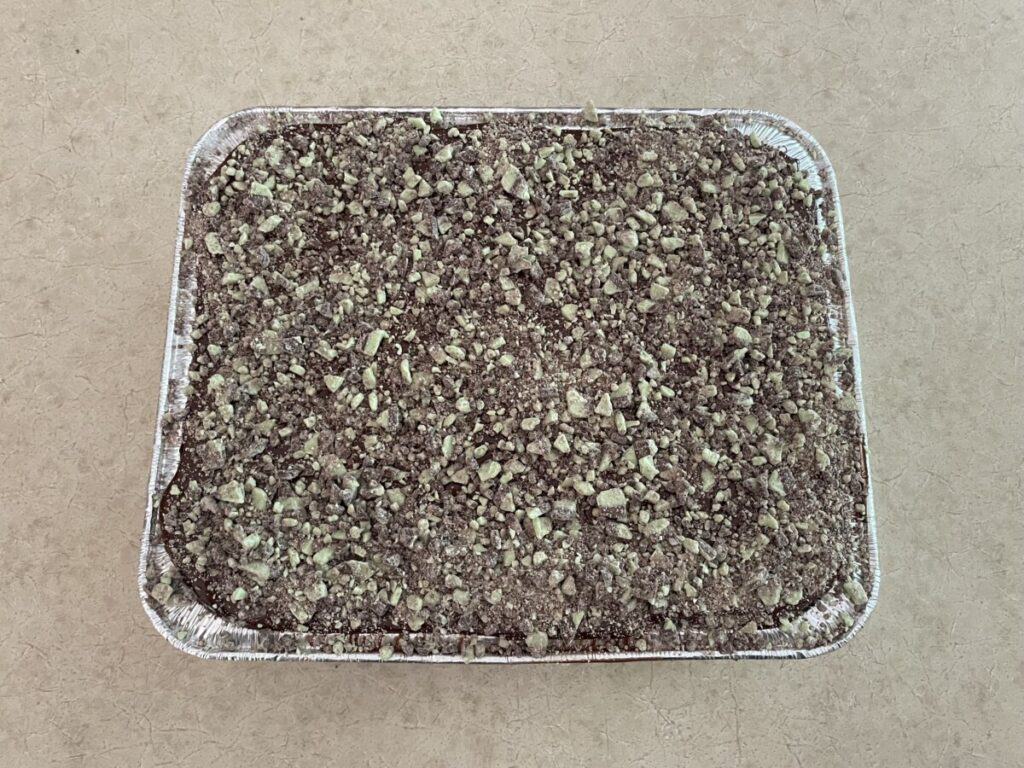
In short, we made the bottom and middle of the cake as we usually do, but instead of putting another layer of ice cream sandwiches, we put a thin layer of chocolate cake, then frosting, then the mint topping! It was so delicious!
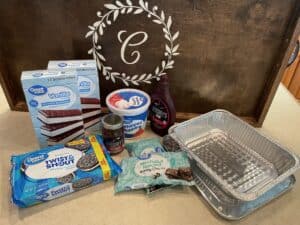
You will need:
- One box (12 count) of ice cream sandwiches
- Chocolate sandwich cookies (such as Oreos)
- A jar of hot fudge
- An 8 oz container of whipped topping
- Mint baking chunks (optional – could replace with heath bits or other toppings of choice; I usually end up using about a bag and a half)
- A box of chocolate cake mix and the associated ingredients (water, oil, egg)
- Chocolate frosting
- A 9×13 pan with cover or foil (I love to use disposable pans with lids)
Instructions:
- Prepare the cake according to package instructions; bake approximately 2/3 of the mix in a very well-greased pan that is the same size as what you will use for the ice cream cake (you want a layer that will be about 1-1.5″ thick when baked); bake until a toothpick comes out clean, then remove from pan and cool completely
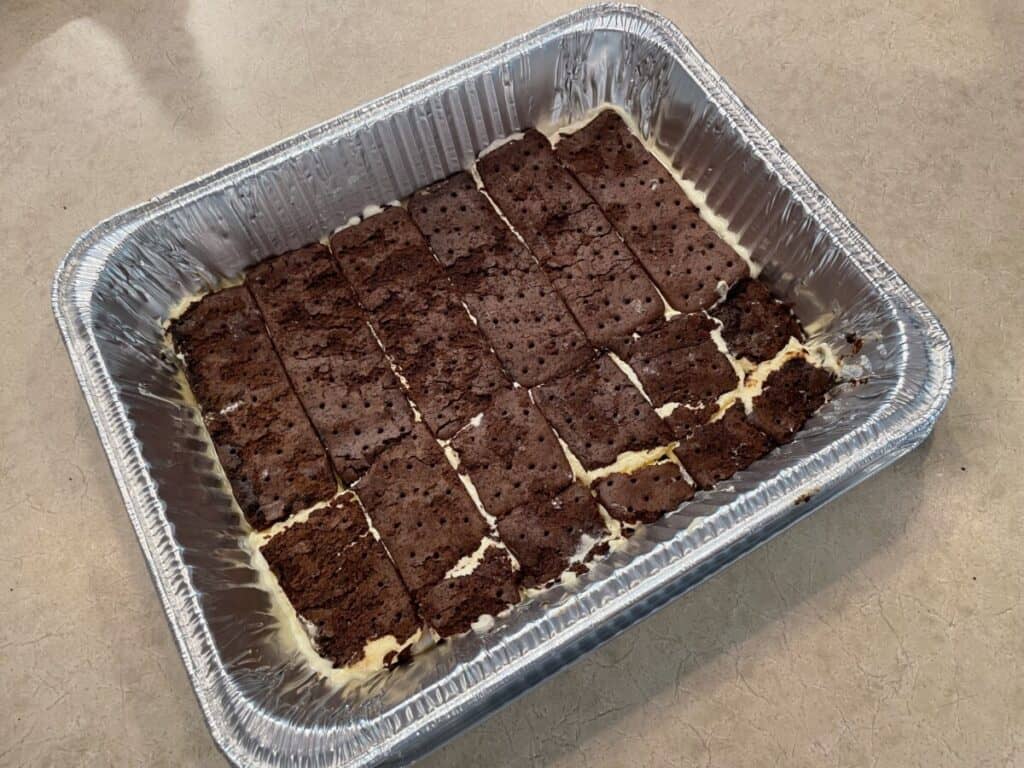
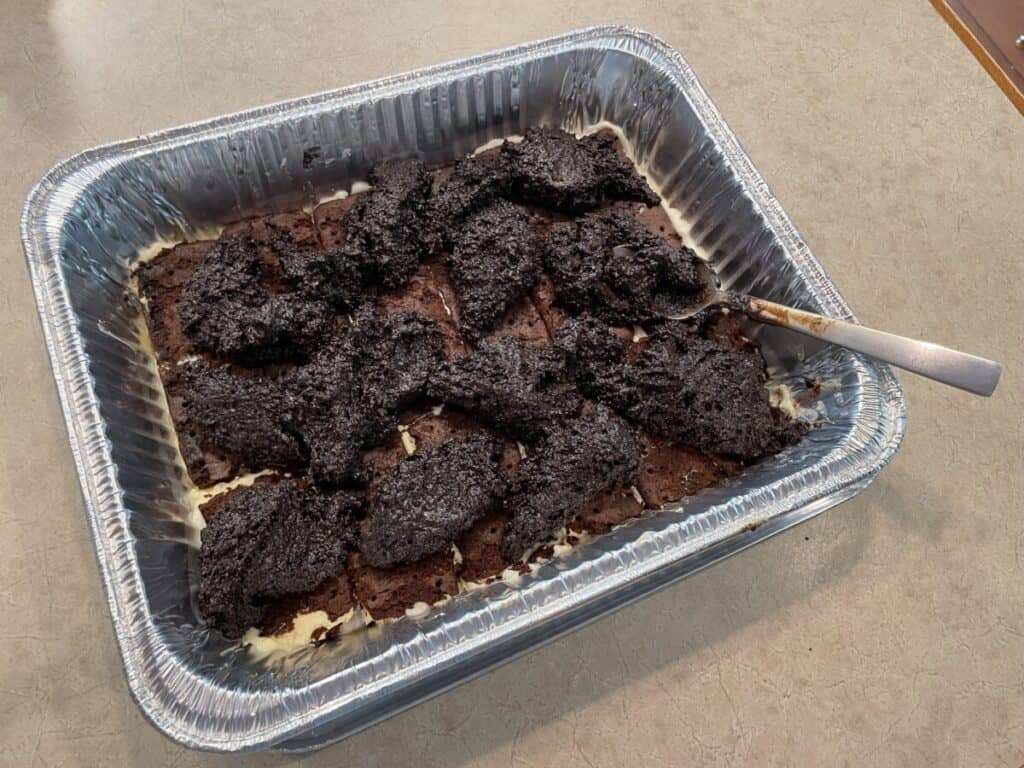
- Place a layer of unwrapped ice cream sandwiches in the bottom of a 9×13 pan; you may need to cut them to various sizes to fill all of the space. If this layer is melted, place the pan into the freezer until solid
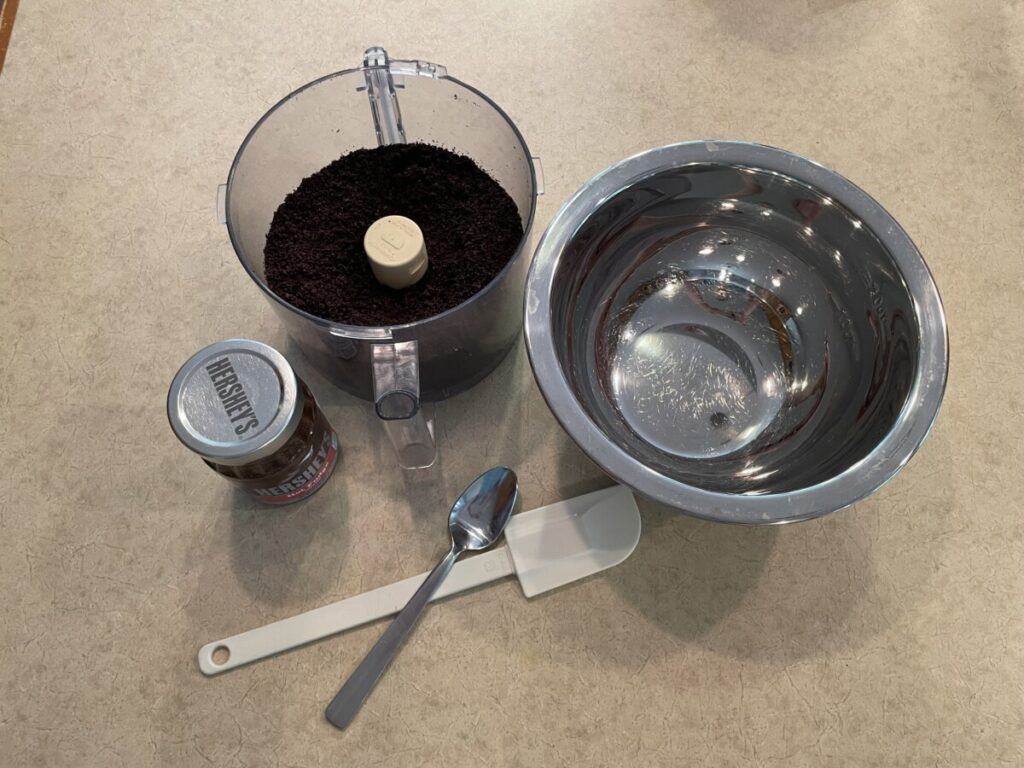
- Crush two rows of cookies (approximately 32 cookies) in a food processor or in a zipper bag with a mallet
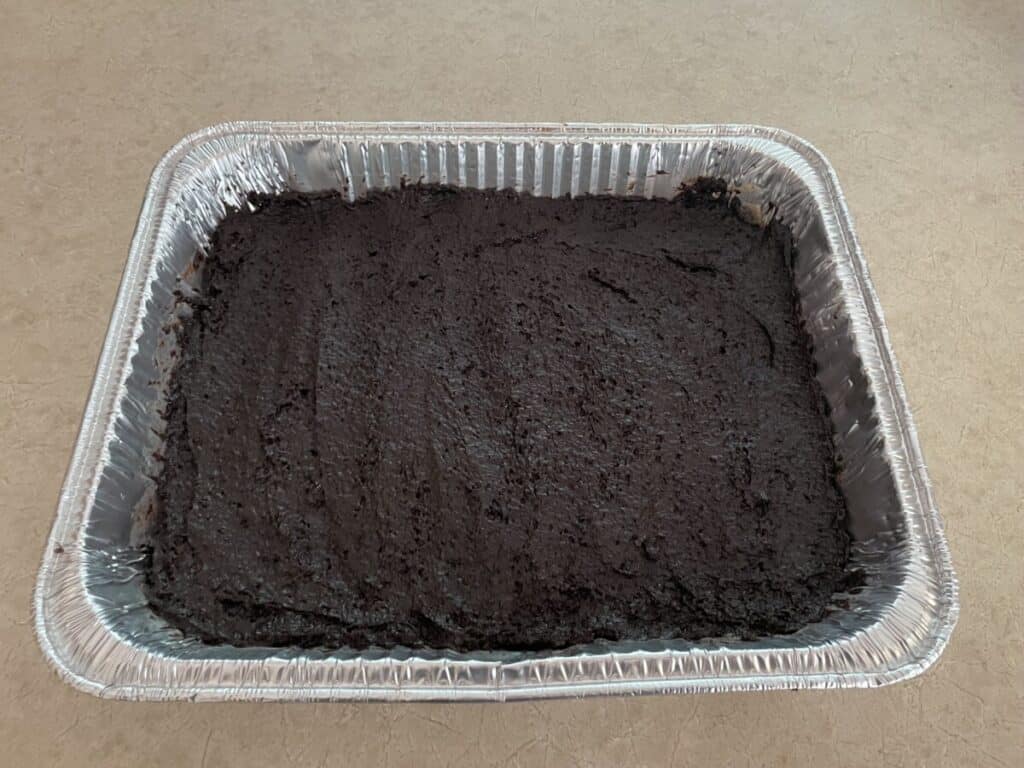
- Mix the jar of hot fudge with the cookie crumbs (Note: if you microwave the jar without its metal lid for 20-30 seconds, it will pour out of the jar and mix more easily. Also, this is my favorite layer, so I use the whole 12.8 oz, but you can use less and make it more “crumb-y” if you prefer. Additionally, if you are having trouble spreading it, wet a spoon and use the back of the spoon to spread the mix over the ice cream sandwiches.)
- Spread the cookie/fudge mix over the layer of ice cream sandwiches
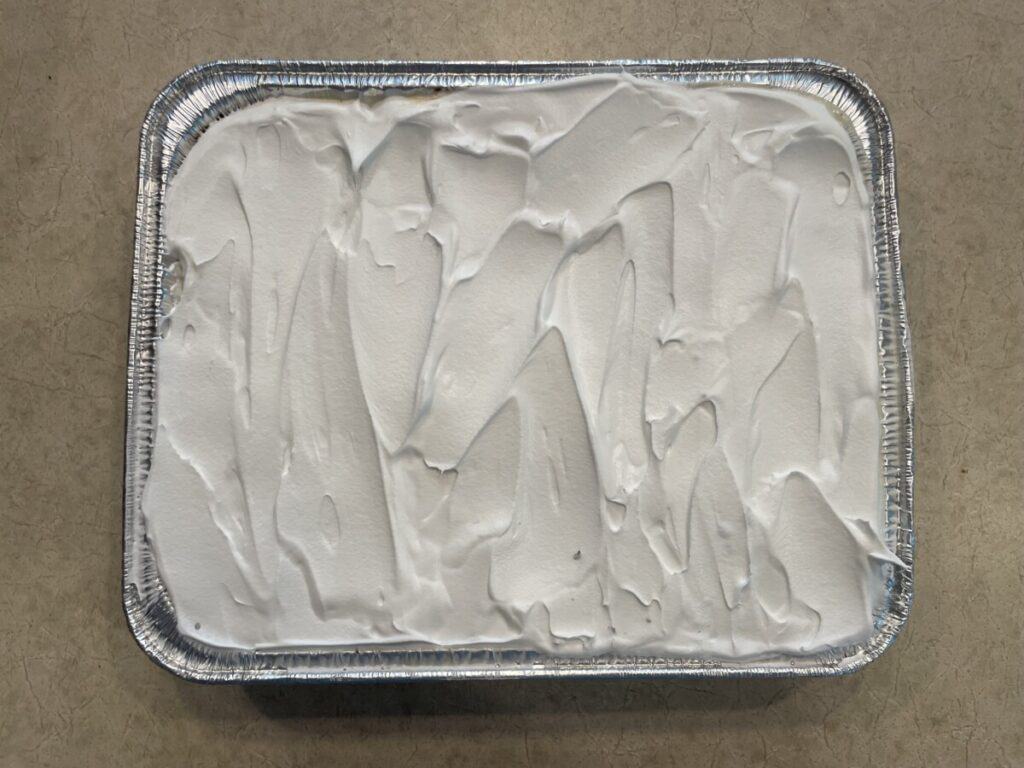
- Spread a layer of whipped topping (only use 1/2 the container)
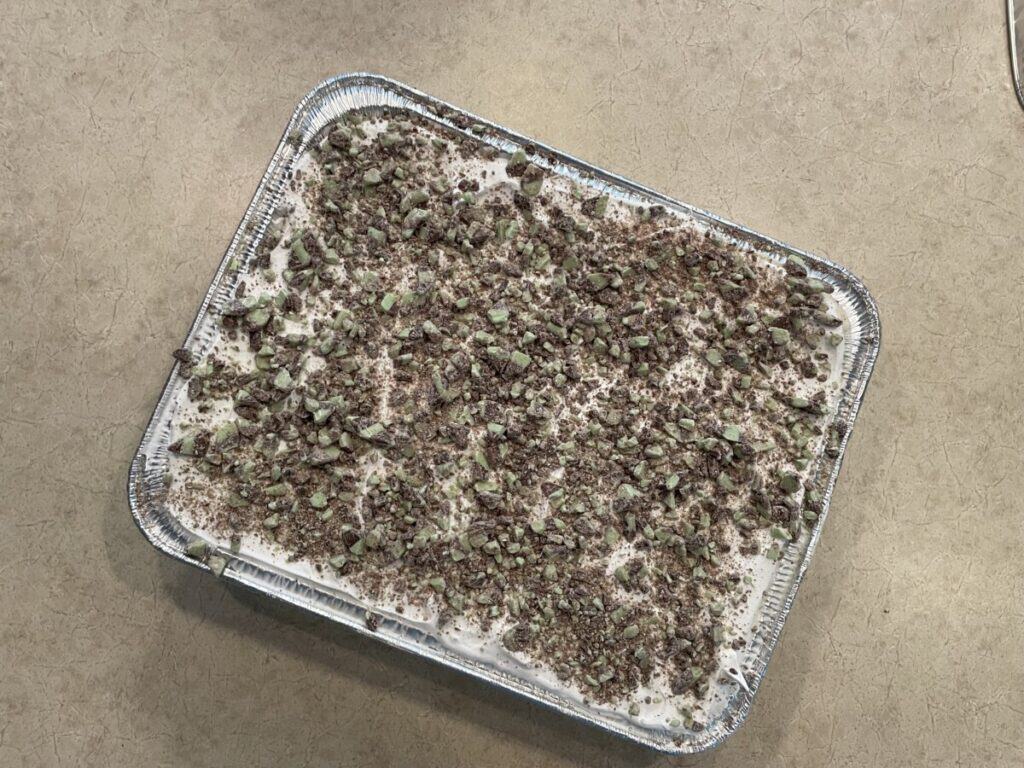
- Cover with a layer of topping (i.e. the mint baking chips)
- Flatten the cake layer and place on top
- Melt the frosting for approximately 20-30 seconds in the microwave so it will pour smoothly onto the cake (Note: if it has a metal/foil seal, be sure to remove ALL of it!); pour over the cake layer
- Add toppings
- Re-freeze, then serve! (Note: Unlike a store-bought ice cream cake that needs to be removed from the freezer 15-30 minutes before serving, this is softer and can be served immediately upon removal from the freezer!)
Here are some pictures of the process! If you try this one and the original recipe, I would love to hear which one you prefer! What are some of your family’s favorite birthday treats?
Recent Posts
Note: I do not claim to be particularly proficient in the kitchen, and even less so at photographing what I make! In fact, the standards by which I rate recipes are: Is it quick and easy to make? Is...
